
 at House in Monsoon")
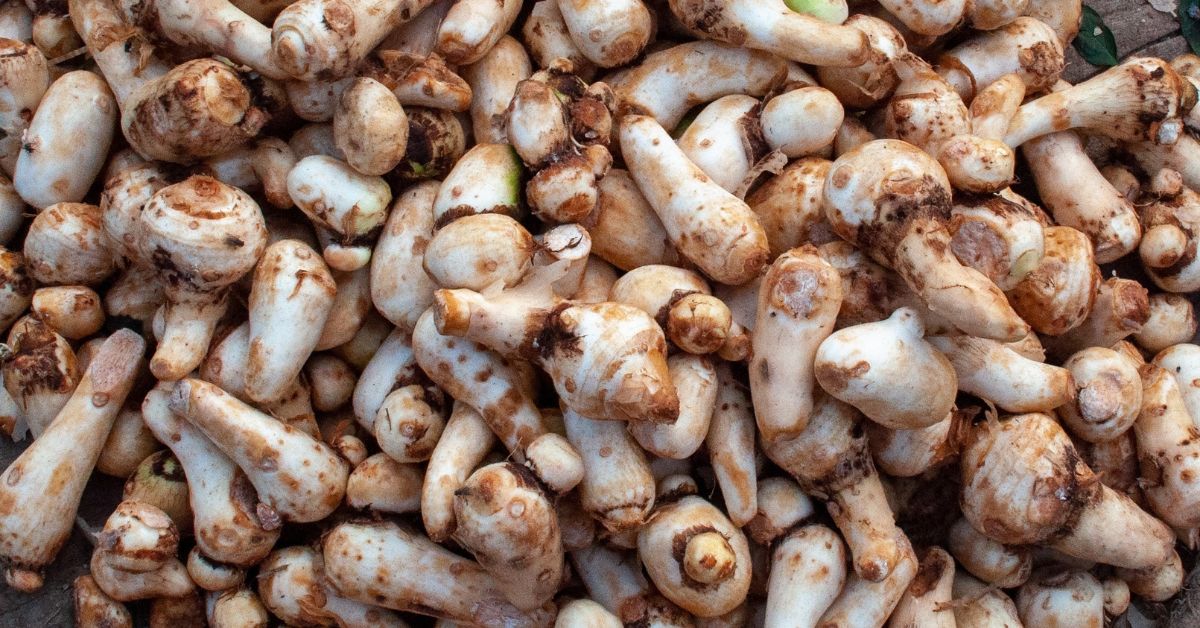
In the event you’ve ever relished a plate of spicy Arbi curry on a wet day, you know the way comforting this humble root will be. Now think about pulling those self same roots from your individual backyard, washing them together with your fingers after which including the spices whereas the aroma slowly fills the room! Colocasia, higher often known as arbi in most Indian kitchens, is among the best greens to develop through the monsoon.
It might not look fancy, nevertheless it’s fuss-free, doesn’t want numerous area, and loves the rain simply as a lot as we do throughout monsoons. Whether or not you’ve a yard, a terrace, or a number of massive pots, rising arbi is usually a satisfying expertise for freshmen and seasoned gardeners alike.
Right here’s a easy 10-steps information that will help you develop arbi at residence.
1. Choose a partly shady spot
Arbi grows finest in locations that get some daylight however are usually not too scorching. A spot that will get morning solar and a few shade within the afternoon works properly. Nonetheless, keep away from exposing it to full solar all day, it could possibly dry out the soil too quick. In the event you stay in a very popular area, planting arbi close to taller vegetation or below a light-weight cover can present the dappled shade it prefers.
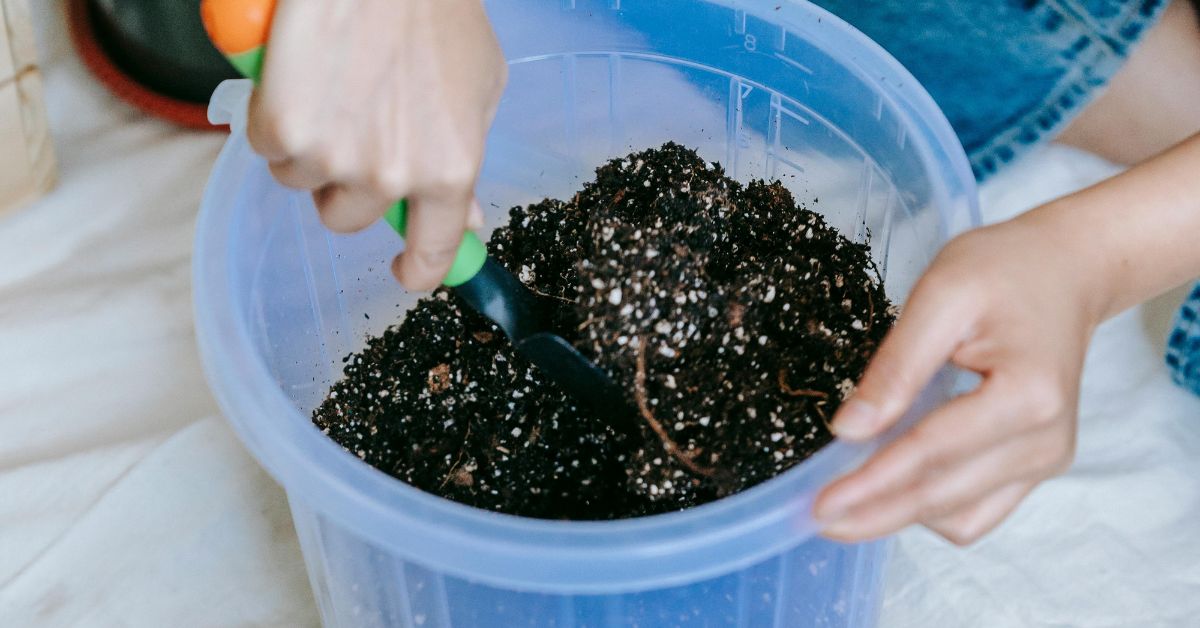
2. Get wholesome arbi corms
You don’t want seeds to develop arbi. Simply get a number of arbi corms (the thick root-like components) out of your native market or nursery. Choose those which might be agency, not tender or mouldy. In the event that they have already got small shoots popping out, even higher! Wholesome corms are the inspiration of a robust plant, so take your time choosing one of the best ones.
3. Soak the corms in a single day
Earlier than planting, place the corms in a bowl or bucket of unpolluted water and depart them to soak in a single day. This does two issues: softens the outer layer, making it simpler for the shoot to interrupt by and triggers the corm to get up from dormancy and start sprouting quicker.
After soaking, drain them and plant them the following day.
4. Make the soil wealthy and tender
Arbi thrives in soil that’s unfastened, well-drained, and stuffed with vitamins. Put together the soil as follows:
- Combine equal components of backyard soil and compost or well-rotted cow dung.
- In case your soil is heavy or clay-like, add sand or cocopeat to enhance drainage.
- Break up any clumps and take away stones to let the roots develop freely.
Delicate, fertile soil helps the plant develop bigger, more healthy corms underground.
5. Plant every corm 4 to 6 inches deep
Dig small holes about 4 to 6 inches deep. Place one corm in every gap with the bud facet (the sharp half) dealing with up. Cowl it with soil and depart not less than one foot of area between each so the vegetation don’t get crowded, thus lowering the danger of illnesses
6. Preserve the soil moist
Arbi loves moisture, particularly within the early levels. After planting, water the realm properly. If it’s raining repeatedly, you received’t must water every single day. But when there’s a dry spell, examine the soil and water when the highest feels dry.
7. Take away weeds and add mulch
Weeds will compete together with your arbi for vitamins. Pull them out gently by hand. You may also cowl the soil with dry leaves, grass, or straw. This mulch retains the soil moist and reduces the variety of weeds.
8. Feed the plant each few weeks
Each two to a few weeks, add some pure fertilizer like compost or a mixture of cow dung and water. This retains the plant wholesome and helps the roots develop larger. You don’t want chemical fertilizers, pure ones work properly and are safer.
9. Preserve an eye fixed out for pests
Verify the leaves as soon as per week for small bugs like aphids or mealybugs. In the event you see any, spray the leaves with neem oil or soapy water. Additionally, be careful for yellow or spotty leaves — that would imply a fungal an infection. Take away such leaves early to cease them from spreading.
10. Harvest after 4 to 5 months
Arbi takes about 4 to 5 months to totally develop. When the leaves begin turning yellow and droop, it’s time to reap. Loosen the soil gently with a small spade or fork and raise out the corms. Don’t pull too onerous, they’ll get broken.
Key Factors to Keep in mind
Begin through the monsoon: Arbi loves rain and grows finest in moist climate.
By no means let the soil keep dry for too lengthy: But in addition be sure it doesn’t turn out to be soggy.
All the time prepare dinner arbi earlier than consuming: Uncooked arbi can irritate your throat and abdomen.
Rising arbi is a low-effort, high-reward exercise. It doesn’t want fancy instruments or a inexperienced thumb, just a few persistence, rainwater, and a patch of soil. So the following time it pours outdoors, take into consideration planting a bit arbi. It’d simply turn out to be your favorite garden-to-plate veggie.
Edited by Saumya Singh